The Project:
Size: 13×19 You can chose what works best for you…landscape or portrait.
Program: Adobe Photoshop
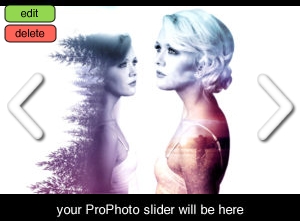
Using Adobe Photoshop create two double exposures on one 13×19 page. You can choose the same person like my example or two different portraits. Using the steps we went through on the demo build your own original idea. Make sure you use Blending Modes, layer masks and adjustment layer to get an appealing result.
The Basic Steps:
- Select a portrait or two from online. Place them into you new 13×19 document.
- Search online for a few images you want to use for the landscape part of the double exposure (trees, cityscapes, landscapes, etc.)
- Cut out the portraits using the pen tool. This you will use to create a selection and a mask.
- Add the same portrait shaped layer mask to the landscape layers.
- Explore blending modes until you find a result that will work for you. (Screen, lighten etc.)
- Add adjustment layers, (levels + Black and white) to tweak the two images so that they will blend together better.
- Adjust the layer masks on both the landscape and portrait layer to control what will be seen. Just blending the two layers together is not enough. You need to control how much you see and where you see it.
- Add a gradient map or a gradient layer effect to two double exposure before you complete it This will create unity of the two double exposure and make the images feel as one.
The link below is from the demo we completed as a class.
